Gutters may not be glamorous, but they are essential to your home’s long-term protection. If you’re a homeowner ready to take on a project that can save money and boost your home’s functionality, this blog is your complete do it yourself gutter installation guide. With the right tools, a little time, and this clear step-by-step plan, you’ll be ready to tackle the job like a pro.
In this guide, we’ll walk you through everything—from how to install gutters to avoiding the most common gutter installation mistakes. Let’s dive into the process and give your home the rain protection it deserves.
Why DIY Gutter Installation Makes Sense
Many homeowners wonder if it’s worth attempting to do it yourself gutter installation instead of hiring a contractor. Here’s why it makes sense for many:
1. Save on Labor Costs
Hiring a professional installer can be costly. Doing it yourself significantly cuts down on expenses, especially if you already own some of the tools for gutter installation.
2. Personal Satisfaction
There’s something empowering about building or fixing something yourself. Installing gutters provides visible, long-lasting results that you can proudly point to every time it rains.
3. Learn a Useful Skill
Knowing how to install gutters properly is a great addition to your DIY toolkit. It’s a manageable project that gives you hands-on experience with measuring, cutting, and sealing—foundational skills for other home maintenance tasks.
4. Simple for Single-Story Homes
If you live in a single-story home with a standard roofline, DIY gutter system installation is straightforward with minimal risk—perfect for beginner DIYers.
Tools and Materials You’ll Need
Before you climb that ladder, you’ll need the right tools for gutter installation to ensure the job is done safely and efficiently.
Essential Tools:
- Tape measure
- Chalk line
- Cordless drill
- Level (4–6 feet)
- Tin snips or a hacksaw
- Pop rivet gun
- Gutter brackets and screws
- Caulking gun
- Ladder (with stabilizer)
Materials You’ll Need:
- Gutter sections (aluminum or vinyl)
- End caps
- Inside and outside corners
- Downspouts
- Elbows
- Hangers/brackets
- Gutter sealant
- Splash blocks or extensions
Safety Gear:
- Work gloves
- Safety goggles
- Slip-resistant shoes
- Helmet (optional but recommended)
- Ladder stabilizer for added safety
Make sure your ladder is positioned on even ground and never work alone if possible.
Step-by-Step Gutter Installation Instructions
A successful do it yourself gutter installation comes down to planning and patience. Follow these step-by-step instructions to build a reliable DIY gutter system.
Step 1: Measure and Plan
Start by measuring the roofline where you plan to install the gutters. Determine the number of gutter sections and downspouts you’ll need. Most gutter systems slope 1/4 inch every 10 feet toward the downspout.
Pro Tip: Use a chalk line to mark the slope for better visibility during installation.
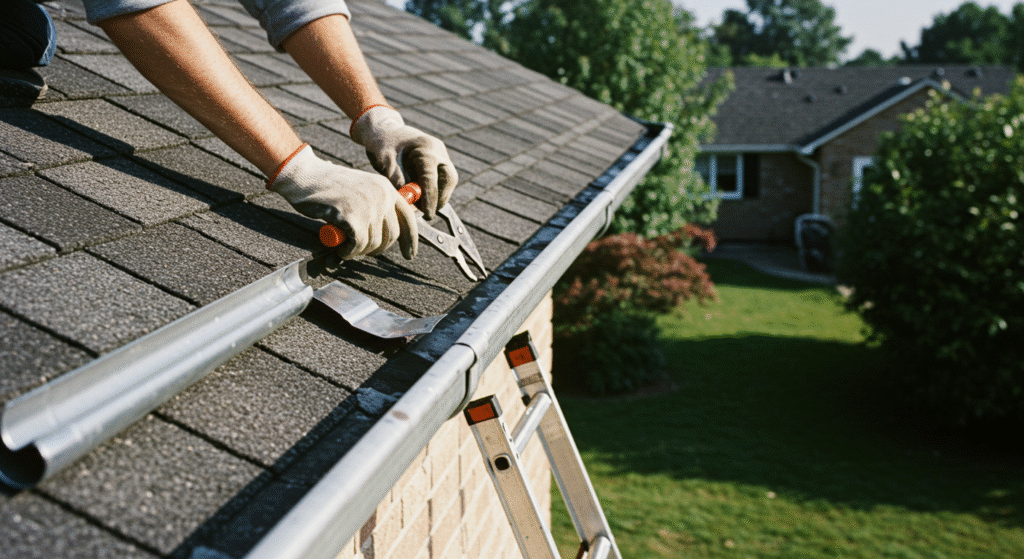
Step 2: Cut Gutter Sections
Using tin snips or a hacksaw, cut the gutter sections to match your roofline measurements. Cut carefully to ensure a snug fit at joints and corners.
Step 3: Attach End Caps and Corners
Cap the ends of each gutter section using sealant and a pop rivet gun. Attach any required inside or outside corner pieces to help the gutters contour to your home.
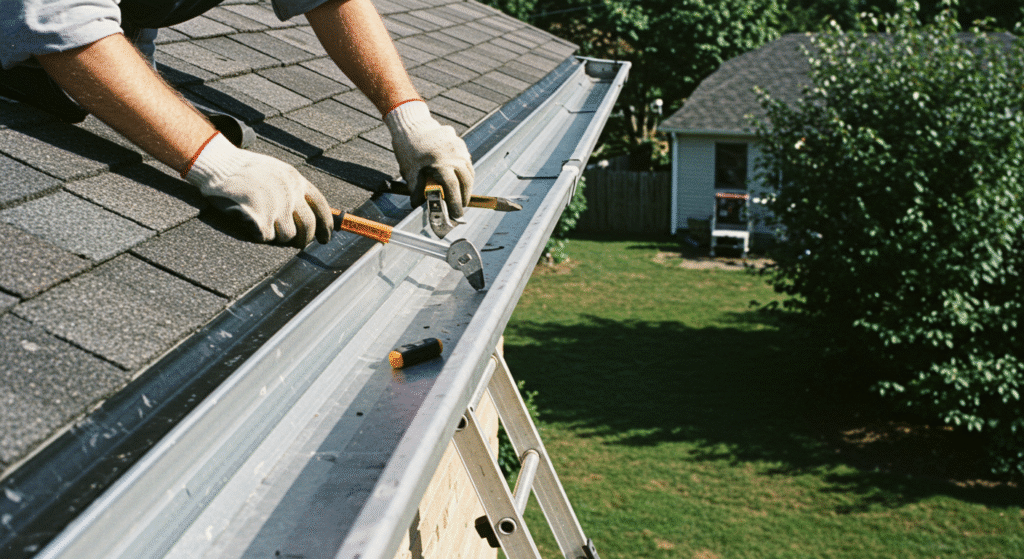
Step 4: Mount the Gutter Hangers
Install gutter hangers along your chalk line. Space them every 24–36 inches. Secure them to the fascia board using screws driven in with a cordless drill.
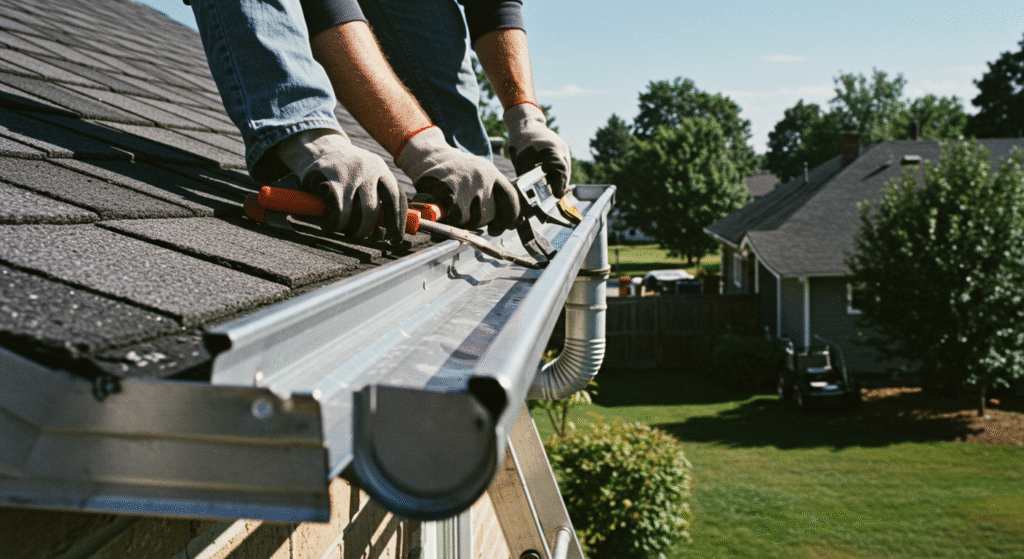
Step 5: Install the Gutters
Snap or slide the gutter sections into the hangers. Ensure all pieces are flush and sealed at joints using gutter sealant. Don’t forget to overlap sections as needed—usually by 4–6 inches.
Step 6: Cut Downspout Openings
Mark and cut holes where your downspouts will go using a hole saw or tin snips. Attach the drop outlet to the gutter over the hole with sealant and rivets.
Step 7: Attach the Downspouts
Attach elbow fittings to both the top and bottom of each downspout. Fasten the downspouts to your house using mounting straps every 6 to 8 feet. Ensure water is directed a minimum of 4 to 6 feet away from your home’s foundation using a splash block or an extension.
Step 8: Seal All Connections
Go over each joint and seam with gutter sealant. This is essential for preventing leaks, especially during heavy rains.
Common Mistakes to Avoid
Even seasoned DIYers can run into problems when installing gutters. Here are a few common gutter installation mistakes to watch out for:
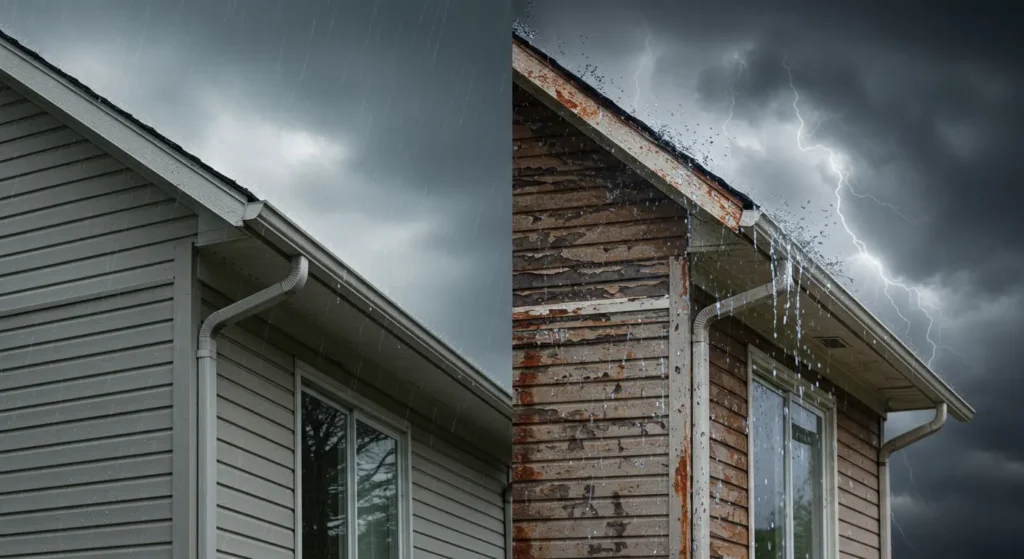
1. Incorrect Slope
Gutters must slope toward the downspout to work correctly. If they’re level or sloped the wrong way, water will pool and overflow.
2. Too Few Hangers
Spacing hangers too far apart leads to sagging, especially in heavy rain or snow. Stick to 24–36 inch spacing, depending on your material.
3. Poor Downspout Placement
If downspouts are too few or poorly positioned, water can back up and spill over. Plan your downspout placement tips carefully—typically one every 20–30 feet of guttering.
4. Overlooking Sealant
Skipping or skimping on sealant at joints and end caps can cause leaks. Use high-quality sealant and allow proper curing time.
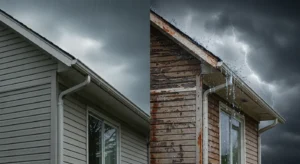
5. Not Checking Fascia Condition
Attaching gutters to damaged or uneven fascia can weaken the system. Always check and fix fascia boards beforehand.
Final Tips for a Long-Lasting DIY Gutter System
Your gutters are only as good as the care and attention you give them. After a successful do it yourself gutter installation, keep these home exterior maintenance tips in mind:
1. Clean Your Gutters Twice a Year
Leaves, twigs, and debris can clog your gutters quickly. Clean them in the spring and fall to prevent blockages and overflow.
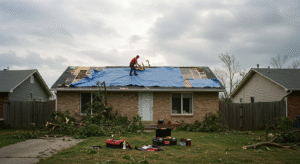
2. Inspect After Major Storms
After heavy rainfall or windstorms, check your gutters for dislodged sections, clogs, or damage. Early fixes prevent long-term issues.
3. Install Gutter Guards
Use mesh covers or hood-style guards to block leaves and debris, helping minimize the need for frequent gutter cleaning.
4. Re-Caulk Seams Annually
Even the best sealants degrade over time. Inspect joints and re-seal any areas that show wear.
5. Repaint or Replace Damaged Sections
Stay on top of corrosion or cracking, especially in metal gutters. A fresh coat of paint or prompt section replacement will keep your system functioning and looking sharp.
Final Thoughts
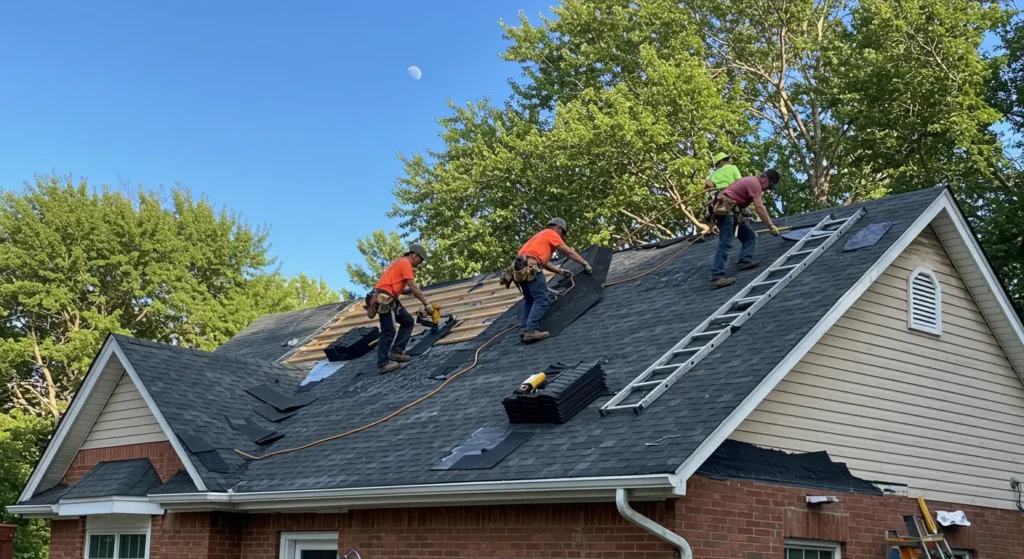
Taking on a do it yourself gutter installation might feel intimidating at first, but with the right preparation and this guide in hand, you’ll find the process surprisingly manageable. Not only will you save money, but you’ll gain a sense of accomplishment—and protect your home from water damage for years to come.
If you ever feel stuck or want a second opinion, Richard Miller Construction LLC is here to help. Whether you need a professional gutter inspection, help fixing a mistake, or want to compare your DIY options with professional services, we’ve got you covered.
🛠️ Ready to Get Started?
Contact Richard Miller Construction LLC today for expert advice, repair services, or a quote on your next gutter project. Let’s make sure your home stays dry, safe, and protected—rain or shine.