Installing a roof is one of the most significant undertakings for any homeowner. A roof does far more than cover a house. it protects the structure from environmental elements, contributes to energy efficiency, and boosts the home’s overall value. Understanding the roofing step-by-step process can help homeowners make informed decisions, identify quality artistry, and avoid costly mistakes. This guide walks you through every phase of the roofing installation process, from initial preparation to final inspection, with expert-backed insights rooted in experience and industry standards.
Understanding Why Roofing Matters
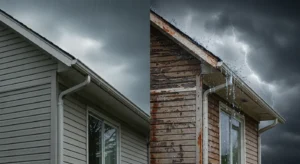
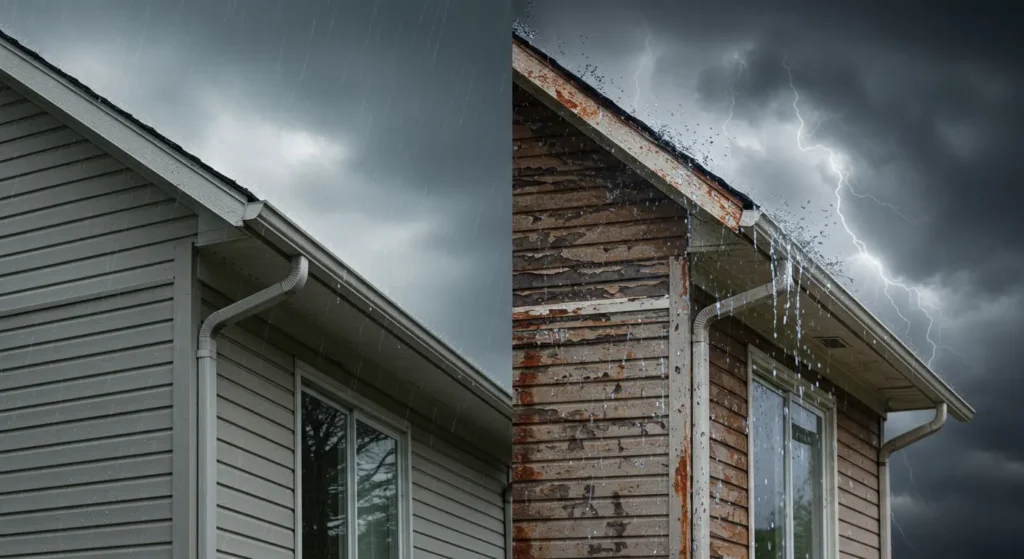
Before diving into the roofing process itself, it’s essential to appreciate the function and importance of your roof. A properly installed roof keeps out rain, snow, and wind, insulates the home for improved energy efficiency, and enhances the home’s curb appeal. Roofing failure can result in severe damage, including mold, rot, water intrusion, and even structural compromise. That’s why investing in a professionally installed roof is a critical part of homeownership, especially if your roof is nearing the end of its life or has recently suffered storm damage.
Step One: Pre-Installation Roof Inspection and Planning
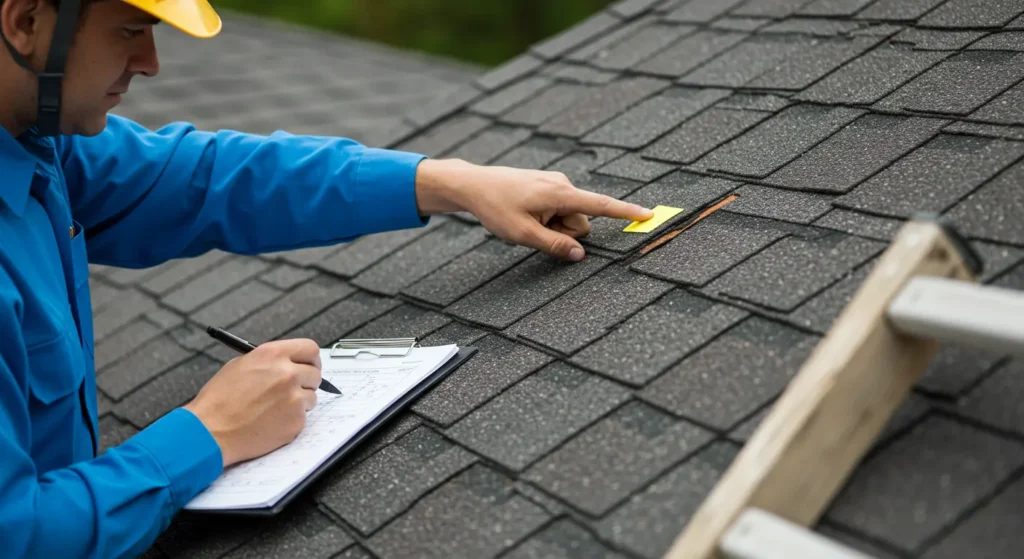
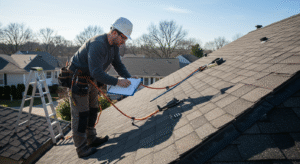
Every successful roofing project begins with a thorough inspection. A licensed roofing contractor will evaluate the current condition of the roof to determine if replacement is necessary. This includes examining the shingles, decking, flashing, and attic ventilation system. Moisture damage, shingle deterioration, or signs of sagging often indicate that the roof is no longer structurally sound.
After the assessment, the contractor will provide a written estimate outlining the scope of work, labor, and materials involved. At this stage, homeowners must also select roofing materials, typically choosing from asphalt shingles, metal, tile, or slate, based on their climate, budget, and aesthetic preferences. Permits are obtained as required by local building codes, and the contractor schedules the installation.
Step Two: Removing the Existing Roof
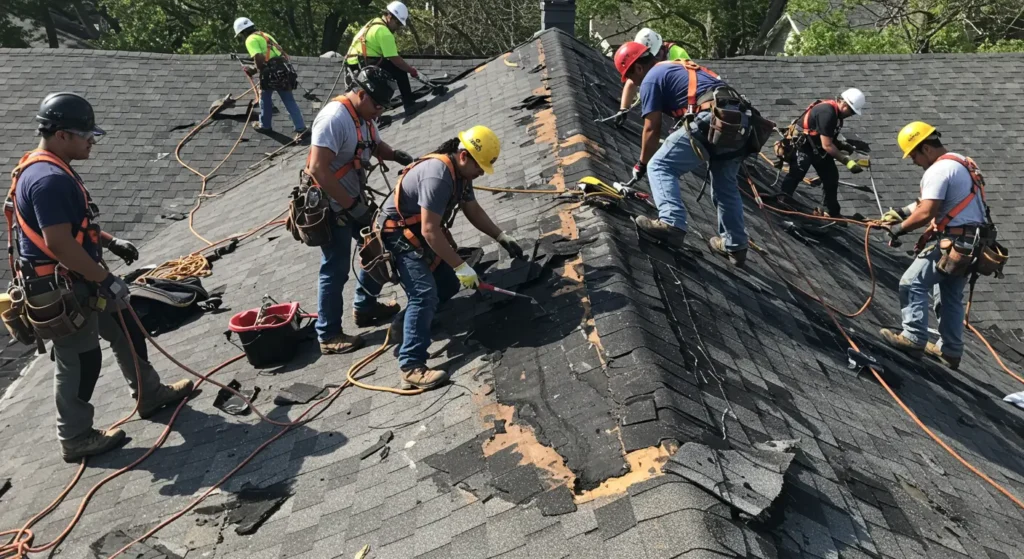
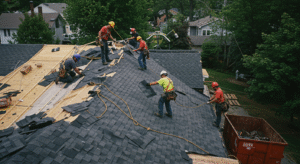
Once the planning phase is complete, the installation begins with the removal of the old roofing materials. This is known as the tear-off phase. All existing shingles, nails, flashing, and underlayment are stripped down to the bare decking. This step is essential to ensure that no hidden damage compromises the new roofing system.
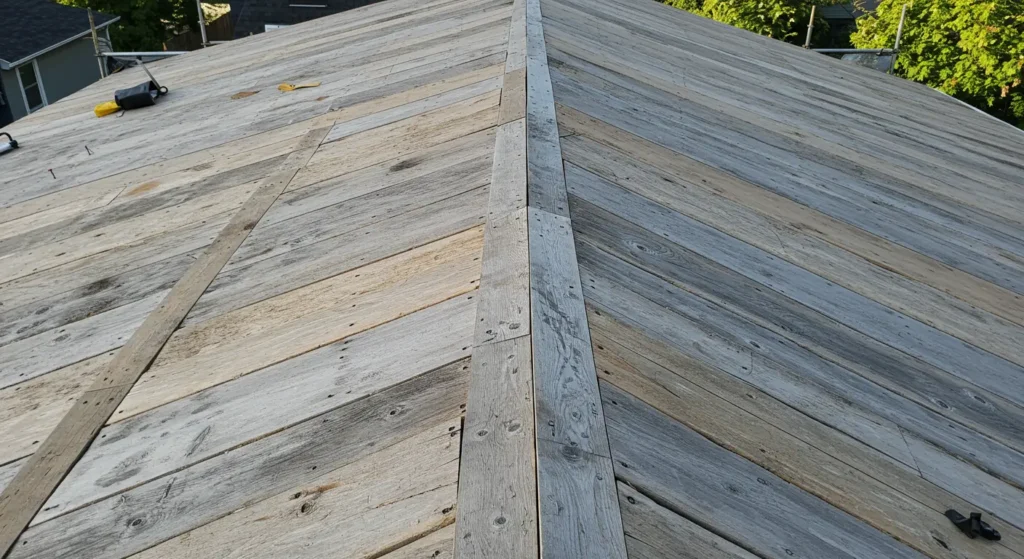
With the old materials gone, the roofing team will inspect the exposed decking for soft spots, mold, or rot. Any damaged sections are repaired or replaced with new plywood or oriented strand board to provide a secure foundation. This preparation is key to extending the lifespan of the new roof and preventing leaks or sagging over time.
Step Three: Deck Protection and Leak Barrier Installation
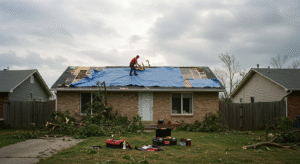
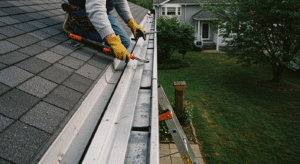
After the decking is prepped and secured, the next phase involves installing protective barriers. First, a drip edge is applied along the eaves and rakes to guide water away from the roof’s edges. Next, an ice and water shield is typically added in valleys, around chimneys, and near roof penetrations to prevent ice dams and water seepage.
Following this, a roofing underlayment—either felt or a synthetic material—is rolled out across the entire roof deck. The underlayment serves as a secondary moisture barrier, adding protection in the event of shingle failure or wind-driven rain. This layer must be installed smoothly and securely to ensure it performs effectively beneath the visible roof covering.
Step Four: Flashing, Ventilation, and Accessory Preparation
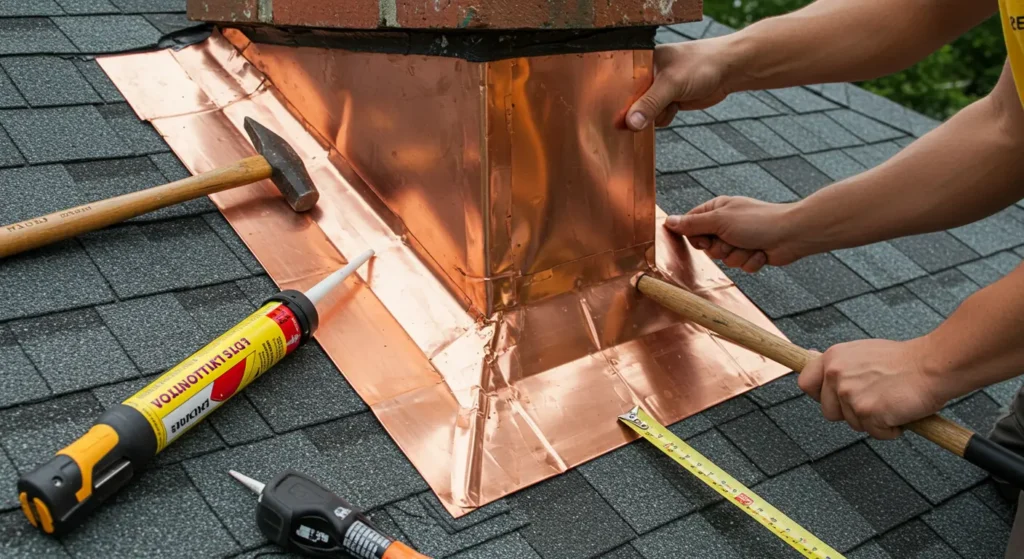
Flashing plays a crucial role in directing water away from critical areas, such as vents, chimneys, skylights, and where two roof planes meet. During this phase, the roofing team installs metal flashing around all penetrations and intersections to prevent future leaks. Properly installed flashing is one of the most important defenses against long-term water damage.
Additionally, ventilation is addressed at this point. Ridge vents, soffit vents, and gable vents are evaluated or added as needed to promote proper airflow in the attic. Adequate ventilation helps regulate indoor temperatures, reduce moisture buildup, and extend the life of the roof and insulation system.
Step Five: Installing the Roofing Material
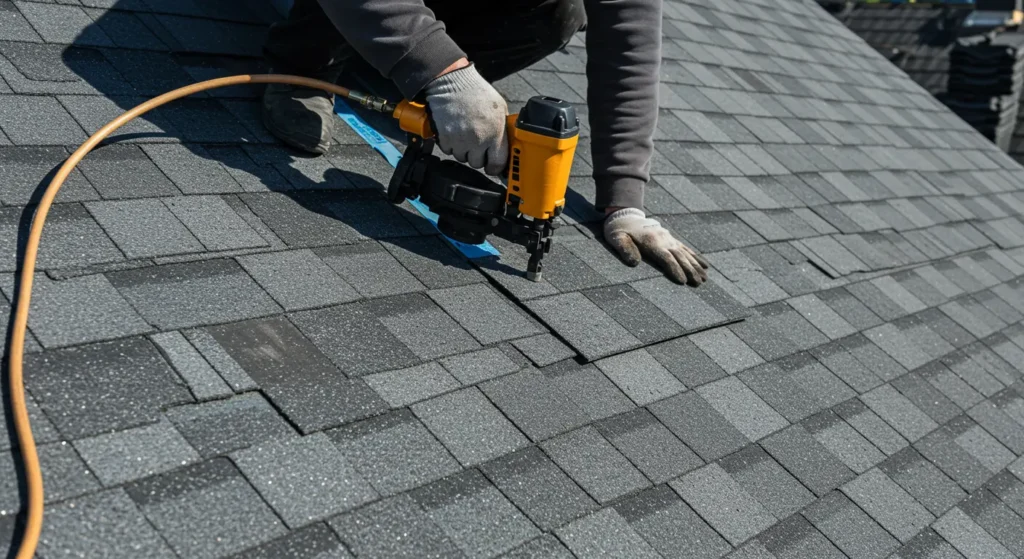
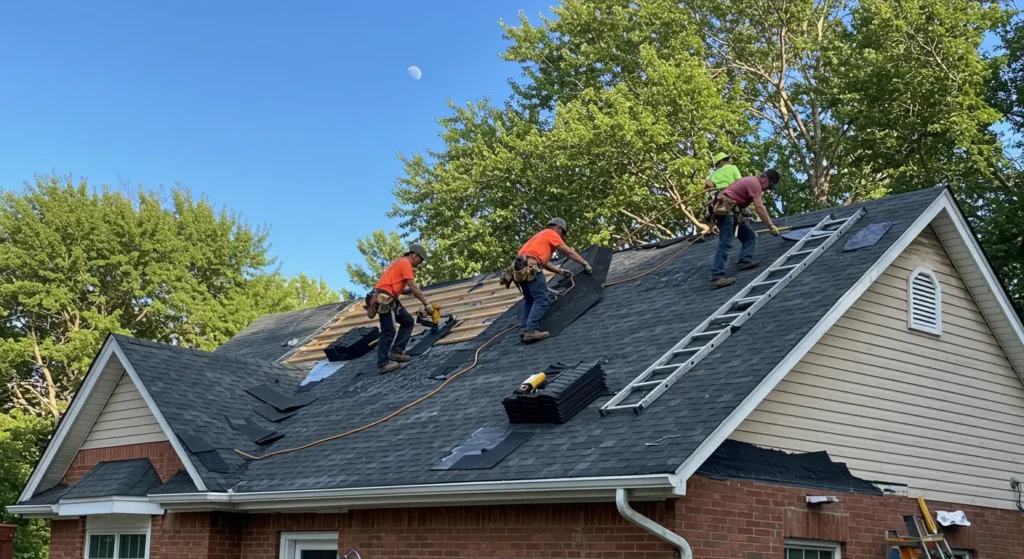
This phase is where the roof begins to take shape visually. Roofing materials—whether asphalt shingles, metal panels, clay tiles, or another type—are carefully installed by manufacturer specifications and industry best practices. For asphalt shingles, installation begins at the lower edge of the roof and proceeds upward in an overlapping pattern. This ensures that water naturally flows off the roof without seeping beneath the shingles.
Each section is fastened with roofing nails placed precisely to secure the shingles while allowing for natural expansion and contraction. Roofers pay special attention to alignment, sealing, and staggered placement to create a uniform, weatherproof barrier. Valley shingles and hip caps are added for additional durability and aesthetics.
The roofing material selected should be compatible with the home’s needs and the local climate. Asphalt shingles are ideal for most residential homes due to their affordability and ease of installation. At the same time, metal or tile may be better suited for areas with intense weather conditions or homeowners seeking long-term durability.
Step Six: Ridge Cap and Final Flashing
Once the field of shingles or panels has been installed, the next step is sealing the top of the roof with ridge cap shingles. These are specialized shingles designed to cover the roof’s peak while maintaining proper airflow through the ridge vent.
Final flashing and sealing are completed around any remaining joints or penetrations. Roofers also apply roofing cement and sealants where necessary to prevent leaks in sensitive areas. At this stage, the roof is fully waterproof and weatherproof, nearing completion.
Step Seven: Cleanup and Final Inspection

A professional roofing job includes a complete site cleanup. All debris, nails, and leftover materials are cleared away from the property using magnetic rollers and disposal bins. The roofing contractor will then conduct a final inspection to verify that the roof complies with the code, adheres to the manufacturer’s guidelines, and fulfills all the points outlined in the original contract.
Homeowners are encouraged to participate in the walk-through to ensure satisfaction and to address any concerns. Once approved, the contractor provides documentation including warranties for both labor and materials. Maintaining these records is crucial for preserving resale value and for future insurance claims.
What to Expect in Terms of Timeline
A typical roof installation for an average-sized residential home typically takes anywhere from one to three days, depending on the roof’s size, the type of materials used, and prevailing weather conditions. Larger or more complex roofs with steep slopes, multiple valleys, or intricate architecture may take several days to complete.
Homeowners should be prepared for some noise and temporary disruption, but professional crews work efficiently to minimize the impact on your day-to-day life. Communicating with your contractor throughout the project can help ensure a smooth experience from start to finish.
Why Proper Installation Matters?
Cutting corners during roofing installation can lead to serious problems, including water intrusion, mold growth, structural damage, and costly repairs. That’s why it’s essential to hire licensed, insured, and experienced roofing professionals who follow every step of the process carefully and responsibly.
By understanding the roofing step-by-step journey, homeowners can confidently select contractors, evaluate work as it progresses, and maintain the roof long after installation. A well-installed roof will last for decades, providing peace of mind and long-term savings.
Conclusion: From Deck to Ridge—Your Roof, Installed Right
A roof is more than just shingles nailed to wood. It’s a complex, multi-layered system designed to shield your home from the elements and maintain structural integrity over time. By taking the time to understand the roofing step-by-step process, you become a more informed homeowner, capable of making wise decisions and protecting your investment.
From the first inspection to the final cleanup, every step plays a critical role in ensuring your roof is built to last. When done correctly, a new roof adds beauty, enhances energy efficiency, and provides unbeatable protection to your home.
If you’re planning a new roof installation or replacement, choose a qualified roofing professional and stay involved throughout the project to ensure a seamless outcome. Knowledge is power—and in this case, it’s protection too.